KI Workaround installieren: Unterschied zwischen den Versionen
Aus exmediawiki
C.heck (Diskussion | Beiträge) Keine Bearbeitungszusammenfassung |
C.heck (Diskussion | Beiträge) |
||
| Zeile 46: | Zeile 46: | ||
===Installieren der development and runtime libraries=== | ===Installieren der development and runtime libraries=== | ||
<code> | <code> | ||
sudo apt-get install --no-install-recommends | sudo apt-get install --no-install-recommends cuda-10-1 libcudnn7=7.6.5.32-1+cuda10.1 libcudnn7-dev=7.6.5.32-1+cuda10.1 | ||
</code> | </code> | ||
Version vom 28. August 2020, 13:01 Uhr
notes:
aktuelle Installationsanleitung für GPU on Ubuntu 18.04:
https://medium.com/analytics-vidhya/how-to-set-up-tensorflow-gpu-on-ubuntu-18-04-lts-7a09ffd5f30f#ea17
18.04 GPU
angepasste Schritte aus: https://elephantscale.com/tutorials/tensorflow2-gpu-nvidia-ubuntu-18-04-anaconda-jupyter-setup-guide/
Setup Hardware:
- Grafikkarte: GeForce RTX 2080 Ti/PCIe/SSE2
- Prozessor: Intel® Xeon(R) Gold 6134 CPU @ 3.20GHz × 16
Software:
- Ubuntu 18.04.5 LTS
- Nvidia drivers + CUDA
- Anaconda Python
- Tensorflow v2 (2.1.0) GPU version
CUDA & NVIDIA-Treiber installieren
see also: https://www.tensorflow.org/install/gpu
NVIDIA package repositories hinzufügen
wget https://developer.download.nvidia.com/compute/cuda/repos/ubuntu1804/x86_64/cuda-repo-ubuntu1804_10.1.243-1_amd64.deb
sudo apt-key adv --fetch-keys https://developer.download.nvidia.com/compute/cuda/repos/ubuntu1804/x86_64/7fa2af80.pub
sudo dpkg -i cuda-repo-ubuntu1804_10.1.243-1_amd64.deb
sudo apt-get update
wget http://developer.download.nvidia.com/compute/machine-learning/repos/ubuntu1804/x86_64/nvidia-machine-learning-repo-ubuntu1804_1.0.0-1_amd64.deb
sudo apt install ./nvidia-machine-learning-repo-ubuntu1804_1.0.0-1_amd64.deb
sudo apt-get update
NVIDIA Treiber installieren
sudo apt-get install --no-install-recommends nvidia-driver-450
besser grafisch: https://www.linuxbabe.com/ubuntu/install-nvidia-driver-ubuntu-18-04
Type in Terminal:
Reboot
danach nachsehen ob die GPU's sichtbar sind mit:
nvidia-smi
Installieren der development and runtime libraries
sudo apt-get install --no-install-recommends cuda-10-1 libcudnn7=7.6.5.32-1+cuda10.1 libcudnn7-dev=7.6.5.32-1+cuda10.1
siehe auch: https://github.com/tensorflow/docs/pull/1599
Installieren von TensorRT
Requires that libcudnn7 is installed above.
sudo apt-get install -y --no-install-recommends libnvinfer6=6.0.1-1+cuda10.1 \
   libnvinfer-dev=6.0.1-1+cuda10.1 \
   libnvinfer-plugin6=6.0.1-1+cuda10.1
CUDA einfrieren (Wichtig!)
sudo apt-mark hold cuda-10.1
sudo apt-mark hold cuda
sudo apt-mark showhold
...exportieren in die bashrc:
export LD_LIBRARY_PATH=$LD_LIBRARY_PATH:/usr/local/cuda/extras/CUPTI/lib64
Type in Terminal:
Reboot
Anaconda
Anaconda ist eine Freemium-Open-Source-Distribution für die Programmiersprachen Python und R, die unter anderem die Entwicklungsumgebung Spyder, den Kommandozeileninterpreter IPython, und ein webbasiertes Frontend für Jupyter enthält. Der Fokus liegt vor allem auf der Verarbeitung von großen Datenmengen, Vorhersageanalyse und wissenschaftlichem Rechnen. Das Ziel der Distribution ist die Vereinfachung von Paketmanagement und Softwareverteilung. Paketversionen werden von der Paketverwaltung conda verwaltet.
Jupyter Notebooks
Was ist Jupyter Notebook?
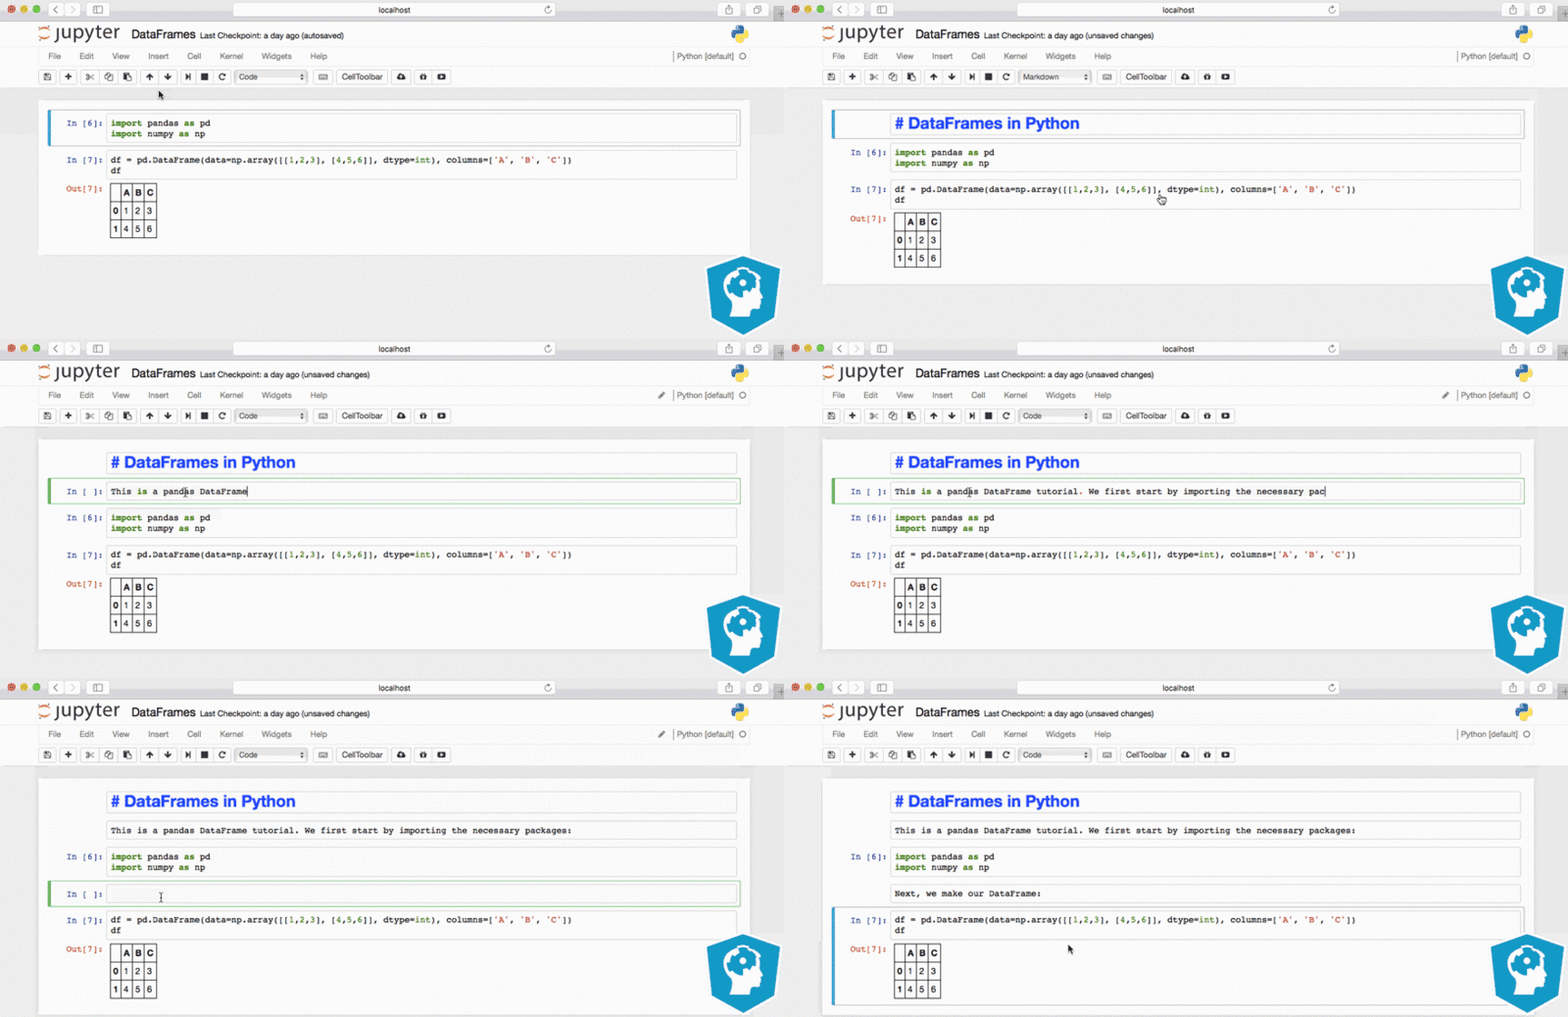
Jupyter Notebook ist eine Client-Server-Anwendung der Non-Profit-Organisation Project Jupyter, die 2015 veröffentlicht wurde. Sie ermöglicht die Kreation und das Teilen von Webdokumenten im JSON-Format, die einem versionierten Schema und einer geordneten Liste von Input-/Output-Zellen folgen. Diese Zellen bieten u. a. Platz für Code, Markdown-Text, mathematische Formeln und Gleichungen oder Medieninhalte (Rich Media). Die Bearbeitung funktioniert dabei über die webbasierte Client-Anwendung, die sich mit handelsüblichen Browsern starten lässt. Voraussetzung ist, dass auf dem System auch der Jupyter-Notebook-Server installiert ist und ausgeführt wird. Die erstellten Jupyter-Dokumente lassen sich u. a. als HTML-, PDF-, Markdown- oder Python-Dokumente exportieren oder alternativ per E-Mail, Dropbox, GitHub oder den hauseigenen Jupyter Notebook Viewer mit anderen Nutzern teilen.
- kleines jupyter cheatcheet http://python.hs-augsburg.de:8888/notebooks/DuR/Hinweise%20und%20Anmerkungen%20zu%20Jupyter%20Notebooks.ipynb hab da aber ja auch noch andere...
Download & install latest Anaconda Version
- go to page and find your version: https://www.anaconda.com/distribution/
- or download directly:
- for Mac:
- for Windows:
- for Linux:
Installationsanleitung
on Ubuntu:
after installing type:
source ~/.bashrc
that you can execute conda etc from out of terminal directly
Create Environement
GPU Support
open conda and type:
conda create --name tf_gpu tensorflow-gpu
or in 3 steps:
conda create --name tf_gpu
activate tf_gpu
conda install tensorflow-gpu
Diese Kommandos kreieren ein Environment mit dem Namen ‘tf_gpu’ und installiert alle Packeages die für ein lauffähigens GPU-Tensorflow_Environment notwendig sind (inklusive die jeweiligen kompatiblen Versionen von cuda and cuDNN.
CPU only
open conda and type:
conda create --name tf_cpu tensorflow
or in 3 steps:
conda create --name tf_cpu
activate tf_cpu
conda install tensorflow
de-activate Environement
nachsehen welche Environements eingerichtet sind:
conda info --envs
Environement aktivieren (z.b. tf_cpu):
conda activate tf_cpu
Environement deaktivierten
conda deactivate
deactivate conda-environement in startup-flag
type in terminal:
conda config --set auto_activate_base false
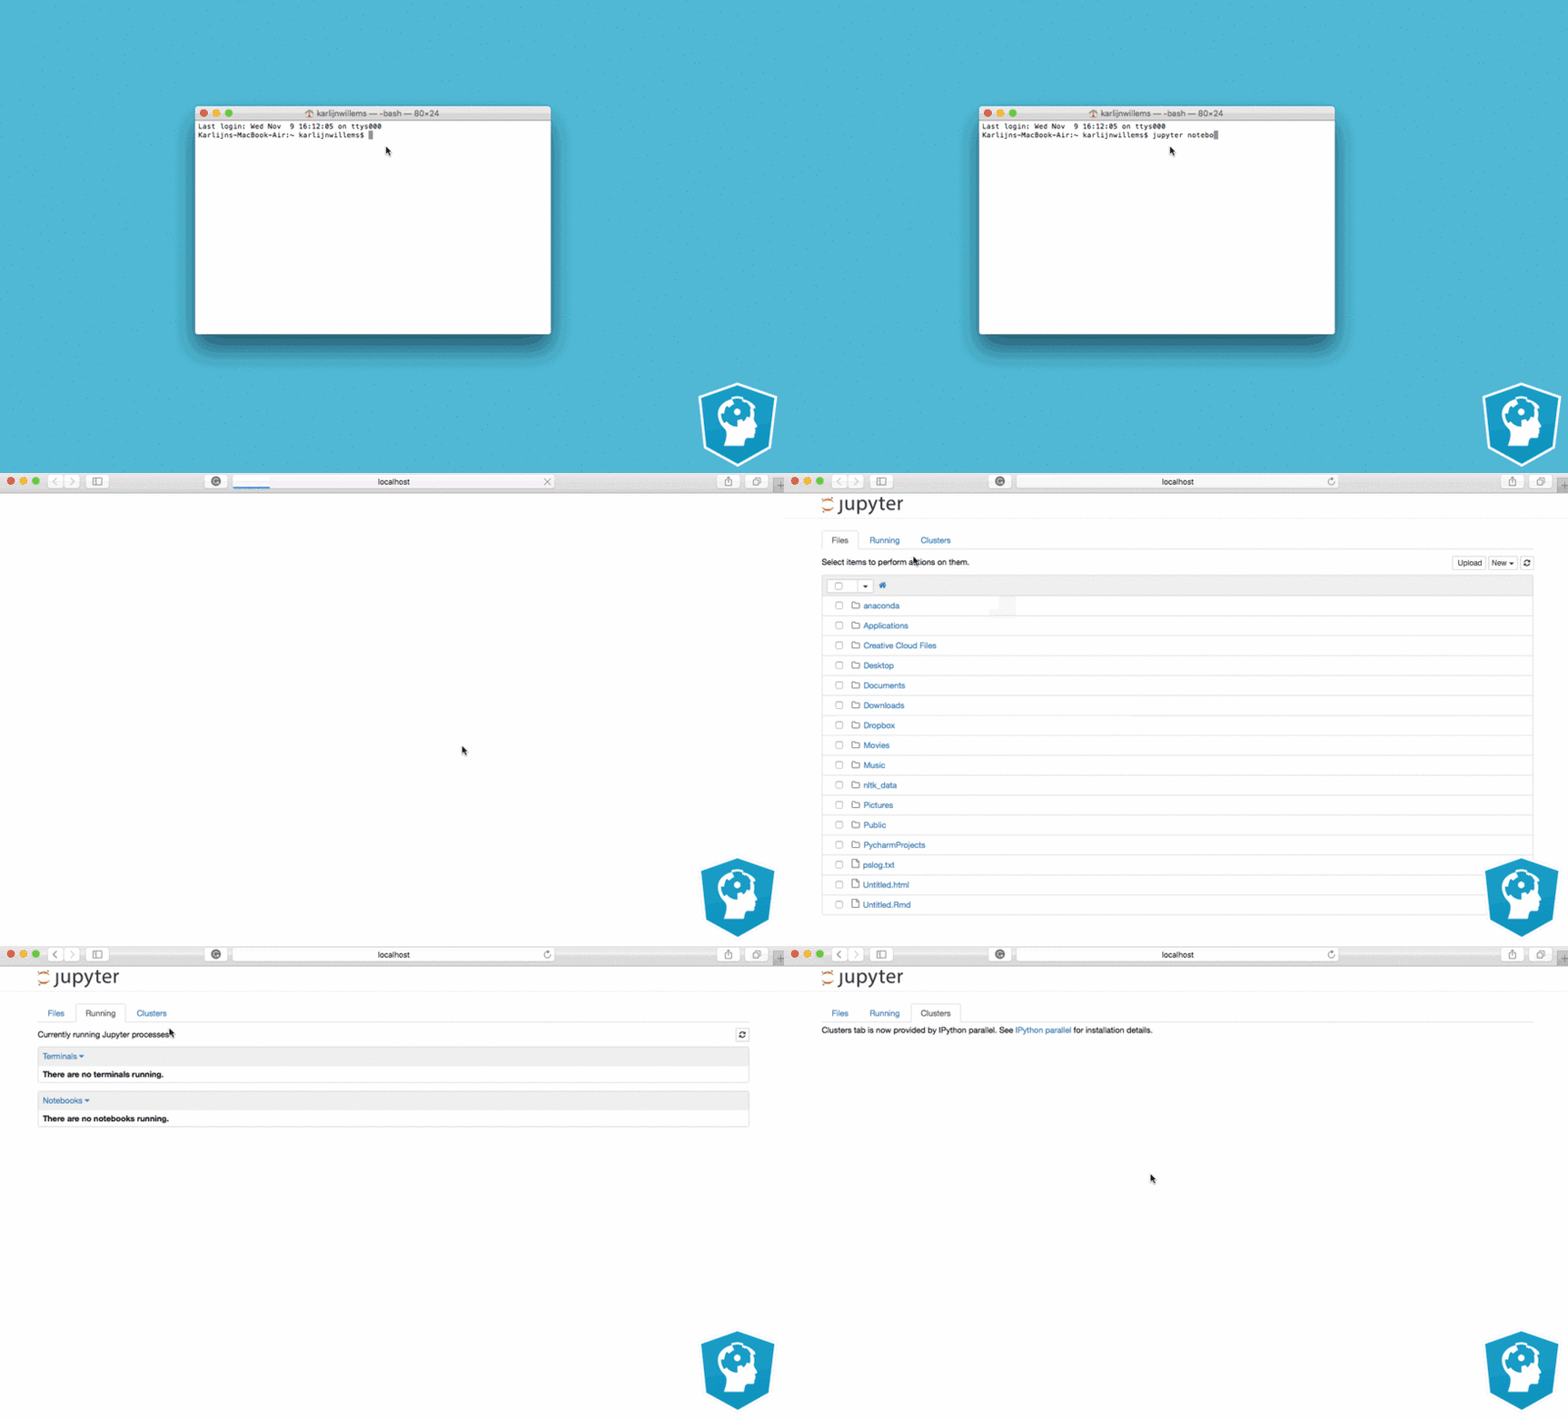
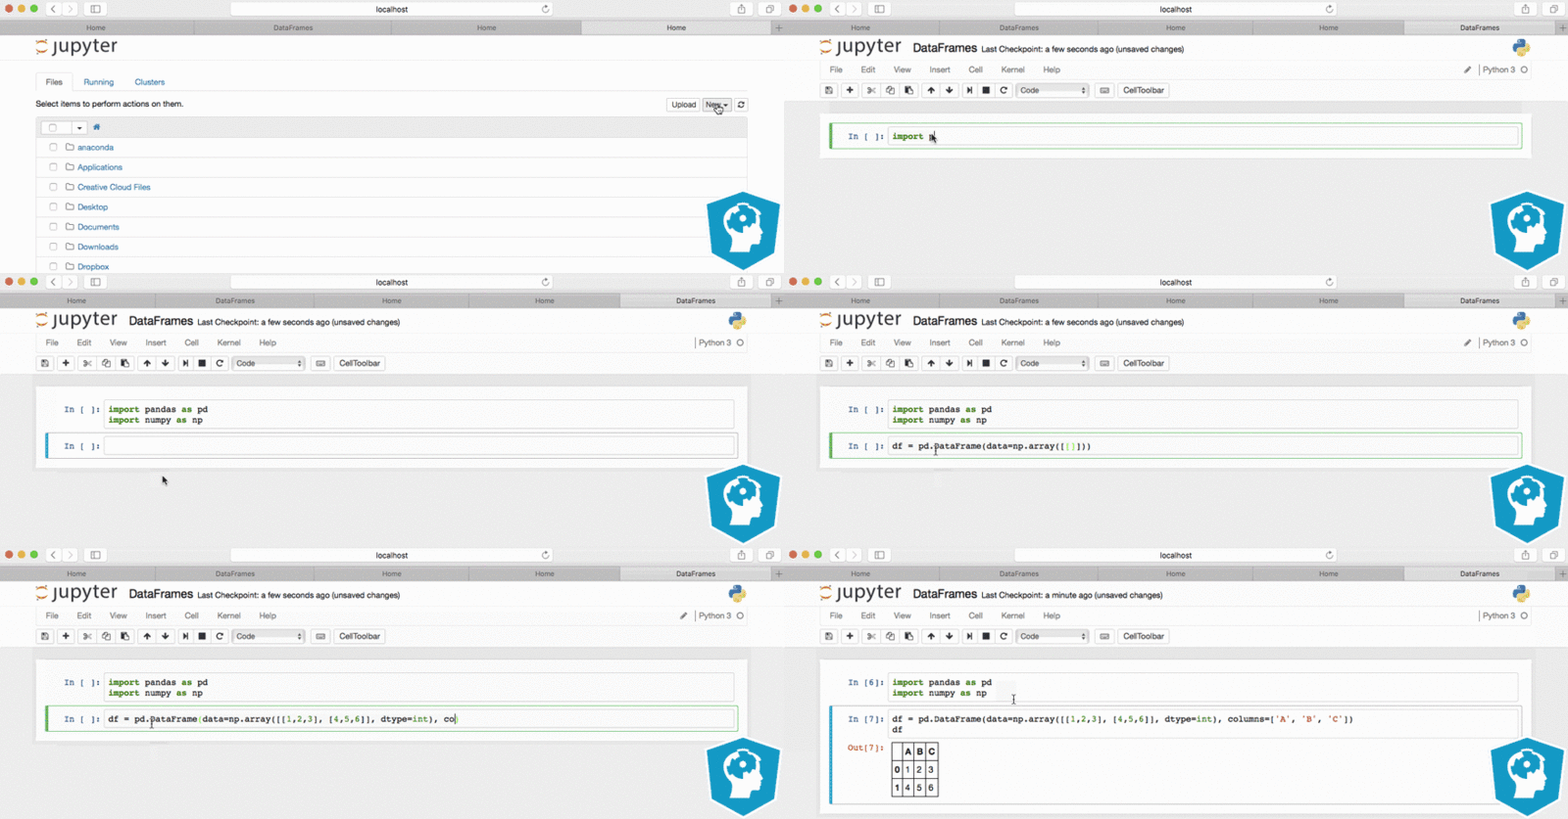
open jupyter notebook
eine gut übersichtliche Anleitung siehe auch hier: https://coessing.files.wordpress.com/2019/08/jupyternotebook_tutorial_bypaige.pdf
type Jupyter-button on your Desktop or
or type in Terminal:
jupyter-notebook
how to use...?
test if GPU is available
type:
import tensorflow as tf
tf.test.is_gpu_available()
tf.test.gpu_device_name()
in your environement 'tf_gpu' open jupyter-notebook and run following python code (siehe oben):
from tensorflow.python.client import device_lib
print(device_lib.list_local_devices())
see also:
test if it works
type:
import tensorflow as tf
with tf.device('/gpu:0'):
   a = tf.constant([1.0, 2.0, 3.0, 4.0, 5.0, 6.0], shape=[2, 3], name='a')
   b = tf.constant([1.0, 2.0, 3.0, 4.0, 5.0, 6.0], shape=[3, 2], name='b')
   c = tf.matmul(a, b)

with tf.Session() as sess:
   print (sess.run(c))
wenn der prozess auf der GPU ausgeführt wurde kommt folgender output:
[[22. 28.]
[49. 64.]]
falls er über cpu läuft kommt eine meldung wie folgt o.ä.:
Cannot assign a device to node 'MatMul': Could not satisfy explicit device specification '/device:GPU:0' because no devices matching that
specification are registered in this process
Module nachinstallieren
open conda and type (um beispielsweise das Natural Language Toolkit NLTK zu installieren):
conda install nltk
oder
conda install -c anaconda nltk


